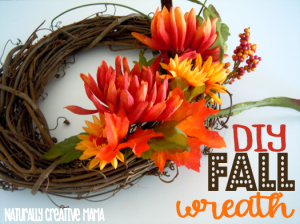
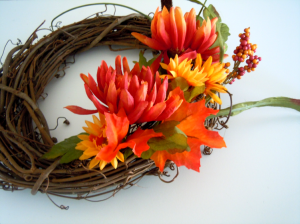
I love the look of a nice fall or winter wreath, hanging from the door, or on the wall. BUT, they are so expensive! So, I opted to create my own simple grapevine wreath all for about $7. Sure beats the $35+ they want for them in the store! I used a coupon from JoAnn to get my grapevine wreath for 40% off. Then I found a cute pre-done mix of silk flowers that I liked. That's it! So easy.
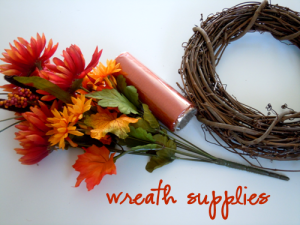
• 8-10" grapevine wreath $2 (with 40% off coupon)
• large bunch of silk flowers $2.50 (on sale - 50% off)
• spool of fancy ribbon $2
• glue gun and glue sticks (already had)
• large bunch of silk flowers $2.50 (on sale - 50% off)
• spool of fancy ribbon $2
• glue gun and glue sticks (already had)
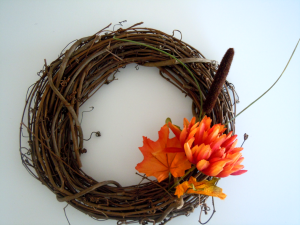
Start by trimming the flowers off the bunch it comes on. I find that wire cutters work really well. If you don't have a pair, they are totally worth the investment! Leave yourself some stem on there {3-4 inches} that you can cut to size as you put it together. Once you have all your flowers cut, it is time to decide on a layout for your wreath. Start by placing your flowers on the wreath so you can figure out where you want them all to go. I chose to have my flowers cascading on the right hand side of my wreath. You can also put them just at the bottom of your wreath, or along the left side. If you choose to cover your entire wreath just be sure you buy enough flowers.
Then carefully remove each flower and glue them back in place starting with the pieces that are in the back first. Trim your stems to the size you want them. Then add a generous amount of glue to the bottom of the stem and poke it into the wreath gluing it in place.Hold it there for a couple seconds while the glue hardens. Double check that it's staying put. If not add a little more glue.
Add the next piece. {Generally you start from the top of your design and work your way down. This way the flowers at the bottom are not covered up by the ones behind them. Plus, it makes it a little easier to work.} With the next pieces you will have about a 2 second window to adjust the placement once the glue is on the stem. So, before you put the glue on, double-check you KNOW EXACTLY where that piece will be placed.
Feel free to glue a couple of the loose leaves from your flower bunch on to your wreath to fill in your design as you wish. Just add a small amount of glue to the stem of the leaf and tuck it in under some of the flowers.
Now that your wreath is done, grab your ribbon, thread one end through the center of your wreath and take your wreath and your ribbon spool to the spot you will be hanging your wreath. Adjust the length of your ribbon to give you the right height of your wreath.
Then, step back and enjoy it! {If you are more talented than I am you can tie a cute bow on the top.... I tried, and tried, and tried again until finally giving up. I may ask for one of those perfect bow tier things for Christmas!}
This is such a simple project that you could make one for each holiday. OR, make a few and give them as Christmas gifts this year! Who doesn't LOVE adding to their home decor?!?!


No comments
Thank you so much for stopping by. I would love to hear from you!