This fun and easy craft project is something you can get done in just a few hours. You can give them away as gifts, or use them to decorate your own home.
If you like to sew, you can go full DIY and sew your own pillow cover (like I did), or you can buy a white cotton cover from IKEA or Amazon and make the project even easier! I used a 100% cotton canvas fabric to create my cover.
Interested in making your own cover? I have a great beginning sewing tutorial here.
Supplies:
- cotton pillow cover (or fabric)
- vinyl cutter (Silhouett or Cricut)
- stencil vinyl (I like Oramask 813)
- craft sponge or foam brush
- fabric paint
- paper plate or wax paper
- piece of cardboard to protect your space
- iron and ironing board
Instructions:
1. Start by deciding on your pillow cover size and your design. I purchased mine from Silhouette Studios. It's one of my favorite Fall/Winter designs. I made an 18 inch pillow cover and found that I could cut an 11 inch design and it fit perfectly!
2. Cut your design out of your vinyl. You DO NOT need to mirror your image because we are using it as a stencil. Weed out (or pick out) your design so that it becomes the negative space of your vinyl.
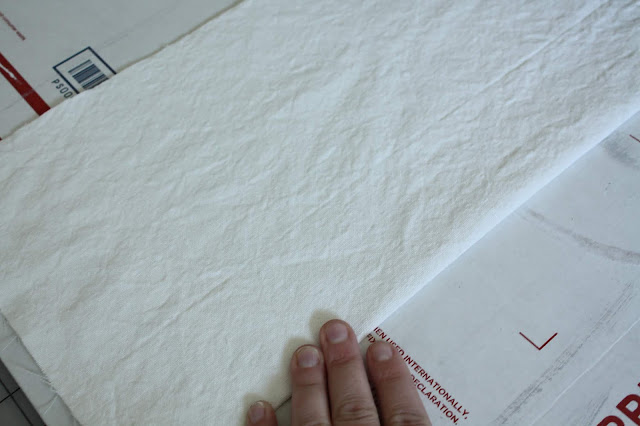
3. Iron your fabric (or cover) and smooth out any wrinkles. Place your fabric on a piece of cardboard. If you are using a premade cover, you will want to slide it inside your cover so that your design doesn't bleed through to the back side. (Yes, I use old USPS boxes to protect my work space....)
4. Using your transfer tape of choice, place it on top of your stencil. Smooth it down using a squeegee or an old gift card/credit card.
5. Peel the white backing off of your vinyl so that you are left with the stencil stuck to your transfer tape.
6. The easiest way I have found to center your design, is to fold your cover or fabric in half both ways. You can also fold your vinyl in half both ways, just make sure that the sticky part of your vinyl stays on the outside of your folds... otherwise you will stick your stencil to itself, and that is a problem you DON'T want to have... trust me!
7. Place your vinyl on your fabric (or cover) and smooth it down with your squeegee again. You want to make sure that all the little cutout spots (like the centers of the "o" or "a") are stuck to your fabric really well.
8. Gently peel back your transfer tape and check to make sure everything is where it should be. Then you can pour a small amount of your fabric paint onto a paper plate or wax paper. If you want a weathered look to your painted design, I like to use these craft sea sponges. Their big porous holes leave a neat imprint on the fabric. If you want a solid painted look, opt for a stencil brush or foam brush.
9. Dip your sponges into the paint, and dab your sponge on a clear area of the plate to take some of the paint off. You don't want too much paint on it or it will bleed onto the fabric under your stencil. You want to start by dabbing a very light coat over the lettering on your stencil. Then you can go back and do a second light coat to get more coverage.
I purposefully have some spots where you can still see the pillow cover through the paint. That is the texture that happens when you use the sea sponge. It looks more worn and weathered when it's dry.
10. Keep your vinyl stencil on your fabric until your paint is completely dry. Depending on your humidity and temperature it can take any where from a few hours to overnight. I like to let mine sit overnight to be sure the paint is COMPLETELY dry.
Once it's dry, slowly peel off the vinyl stencil. It will come up fairly easily. Then you can take your cover to a warm iron (I set mine to the cotton setting - without steam). Iron over your design, stopping for 10-15 seconds and then moving to a new spot for 10-15 seconds, until you have ironed the entire design. This heat sets the paint into your fabric. Now it is ready to be put onto your pillow insert!
To wash your cover, put in on a delicate cycle with cold water in your washing machine. You can dry it on low heat, or lay it flat to dry. If you use a pre-made cover, be sure to follow the directions for washing that came with it.
Variations:
- You can use regular vinyl if that's all you have, it may be trickier to peel it off when the paint is dry, but it will work just as well.
- If you want to make a cover on the cheap, you can also use chalk paint instead of fabric paint. Let it dry completely (it will take less time because chalk paint dries fast) and iron it the same way. It will be a little rougher of a texture on your pillow, but will still look great! The heat of the iron sets the chalk paint into your fabric so it can be washed and not wash out.


No comments
Thank you so much for stopping by. I would love to hear from you!