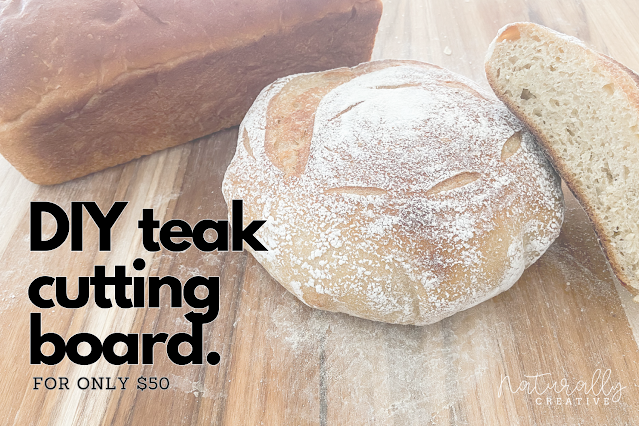
If you have hopped on the bread making bandwagon, or if you like to make roll out cookies, you are going to LOVE just how easy it is to make your own giant teak cutting board... for around $50!! Yep, you read that right, 50 big ones!
I love to make bread. I love being able to control what does (and does not) go into my bread. I love the smell of homemade bread when it's baking. I love that my kids are willing to try new flavors if I sneak it into a loaf of bread, ha!
We have granite counters, and it's really easy to use them to roll out bread and cookie dough, but sometimes the clean up afterwards is brutal... especially if the kids are helping. So, I started looking on Amazon and locally for a large cutting board (butcher block style) that I could use instead. Something that I could clean with my bench scraper when I was done using it, and would look cute displayed on my island.
Oh. My. Goodness. Do you know how expensive a big cutting board is!? A few hundred dollars, easily ... for a semi-decent one.
Instead of scrapping the idea all together, I started looking around the store on my next trip to Lowe's, thinking it's got to be cheaper to make my own. Well, without a bunch of wood working tools and a million clamps, it wasn't going to be. Until I found this ...
My wheels started spinning. This was the exact size I was looking for in a cutting board. I googled teak cutting boards and it turns out that teak is actually a really good wood to use. It's a very hard wood, the strongest of the hard woods actually. Since the wood itself is hard, it means it won't leave cutting marks as easily and it better for your knives than softer woods. Plastic and bamboo cutting boards will dull your knives over time. If your teak cutting board gets worn, it's really easy to renew it by giving it a light sanding. I was sold!
I found my teak project panel on an endcap in a stack. It was near all the dimensional lumber and wood trim in my Lowe's, but you can always search for it online or on your Lowe's app and it will tell you where to find it in your local store. You can also order it online.
I used my Black and Dekker mouse sander (because it was the easiest to find in my garage) and did a light sanding on all the sides. Then I rounded out all the edges and corners. I figured it it's going to be on my counter, I wanted softer edges so I didn't scrape my knuckles while working or moving it around on my island. Although it's a hardwood, it sanded down easily. Just be sure to either attach a shop vac to your sander to collect the dust, or use the dust collecting attachment for your sander.
Once I was done sanding, I wiped the whole board down with a dry microfiber cloth to remove any excess sanding dust. Then I went over it with a slightly damp paper towel to be really thorough.
There are a few different oils you can use to seal your board once it's been sanded and cleaned. I chose to use a clear cutting board oil that I found at Lowe's on the same aisle as the wood stain.
Simply pour a generous amount of the oil onto the cutting board and use a clean cotton cloth to spread it around and help it to soak into the wood. Then use a clean cotton cloth to wipe back any of the excess oil. I like to go in circular motions so I don't miss any areas.

If you find that your cutting board slides around on your counter as you knead or roll out dough, you can add clear cabinet door bumpers to the bottom side. Just know that due to the oil on the board the sticky backed bumpers may come off if you slide your cutting board to move it. Instead, just lift up your board and move it to where you want to work.
One of my
FAVORITE ways to use my new cutting board is for rolling/stretching out homemade pizza dough. I usually make a large batch of dough, then split it into six sections -- we make individual pizzas because no one likes the same thing. The large size of the board allows me to roll each of the six balls of dough and let them rest while working on them one at a time to build the pizzas.
When I'm all done, I use my bench scraper to clean off any excess dough and flour. You can use a slightly damp microfiber cloth to wipe it down when needed.
DO NOT ever soak a wood cutting board in the sink. If you make one this size, you won't really have to worry about that because it wouldn't fit in your sink anyway. HAHA.
The other benefit to the rubber bumpers on the underside, is for protection against spills on your counter. Every once in a while a cup gets left out on our island counter and if it gets spilled it can warp your cutting board. The bumpers raise it up off the counter
AND help it not to slide around as easily.
BONUS!
You will want to oil your cutting board about once a month. If it starts to look dry, oil it more often. It helps to prevent cracking and splitting of the wood.
Let me know if you make your own, and how much you love it!


No comments
Thank you so much for stopping by. I would love to hear from you!